Coconut Husks and Roofing Go Hand-In-Hand

By Lauren White.
Roof Saver Ridge Vent is natural, affordable, and a quality solution for attic ventilation.
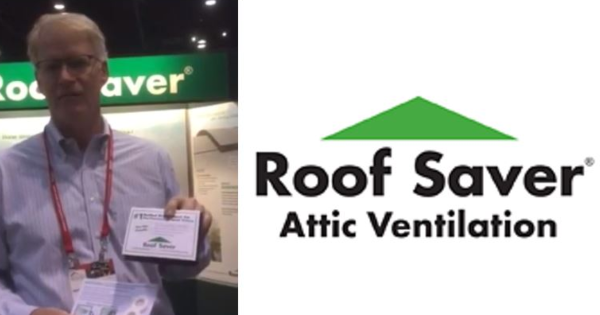
At the International Roofing Expo, Andy Swan, President of Blocksom & Co., shared his knowledge about the Roof Saver Ridge Vent product in the Roof Saver booth. According to Andy, “Roof Saver Ridge Vent should be your vent of choice.”
What makes Roof Saver Ridge Vent different?
Manufactured by Blocksom & Co., this material has a 40-year warranty. Roof Saver meets attic ventilation requirements for all building codes throughout the country. It also has a Class A Fire Rating, meaning it has the highest degree of fire resistance and a better performance rating. Miami-Dade County has strict code requirements and Roof Saver holds a Notice of Acceptance (NOA) in the county. This NOA includes the 110 mph wind-driven, rain, and snow test. Andy shares that this is, “Vital if you are living in a high-velocity hurricane zone.” Additionally, it’s environmentally friendly, made of coconut husk fiber. Known as coir fiber, it is blended with a premium adhesive to form a non-woven textile. The coconut fibers come from India and Sri Lanka and have been for over 60 years.
Who does the testing?
Tests are conducted by an independent third party. Andy explains in his interview that, “We get the test results and then submit that to the evaluation service, whether it’s Dade County or the International Code Council.” The test results are reviewed and a decision is made as to whether the product meets the requirements for the building code or not. Andy urges others to, “...make sure whatever product you are using has been tested and meets the International Building Code.”
Is Roof Saver difficult to install?
Installation is quick. And according to Andy, “...you don’t need to hand nail the ridge to get a beautiful looking roof...” He also shares some of his own tips for installation. Start by tacking one end of the vent down with a hand nail. “Then to install the rest of the product you take this nail gun pad, these are included with the coil nails in the carton, take that pad and adhere it to the nose of the nail gun…” explains Andy. He points out that doing this takes a “quarter inch away from the stroke of the gun” so the vent material doesn’t get compressed. “I recommend that you have the pressure at 80 to 100 psi but I have had it as high as 130 psi and you still get a nice consistent even ridgeline,” Andy discloses.
What else do you need to know to install Roof Saver Ridge Vent?
There are two concepts a roofer needs to know when installing: one, how to balance the system and two, how to calculate the total net free area. To be balanced, half of the exhaust should be at the ridge and half of the total net free area at the soffit for intake. Andy clarifies, “The code used to allow 80% of the net free area at the ridge and 20% at the soffit, and they learned you would get material sucked into the attic. So the code changed…”
The second concept is calculating the total net free area. It’s important to first identify if there’s a barrier at the foot of the attic. Andy explains that this barrier, “keeps condensation moisture from inside the dwelling migrating up into the attic itself.” Retarding the vapor from entering the attic reduces the amount of total net free area ventilation needed.
“If you have a vapor barrier you can use one square foot of ventilation for 300 square feet of attic, if you don’t have a vapor barrier that doubles the ventilation requirement to one square foot per 150 square feet of attic space,” Andy reveals. This calculation is done by finding the area of the attic— multiplying the length by the width. Then the area is divided by either the 150 or 300 ratio to determine the total net free area required. Andy further explains, “Then you go and split that, half of that is going to be at the ridge for exhaust, half of it at the soffit for intake.”
Where can people find more information?
Before starting, Andy recommends checking out the Roof Saver website, which has installation videos and print materials. Information on how to calculate the total net free area and ensure the system is balanced can be found there, “...so you do it right the first time [and] so you are confident the material is installed properly,” Andy shares.
This green product is a cost-effective solution to attic ventilation. Eliminating access of excess heat and moisture from the attic protects your belongings and your home. The Roof Saver Ridge Vent, with its coconut fibers, is the natural choice for a long-lasting ventilation system.
Learn more about Roof Saver.


Comments
Leave a Reply
Have an account? Login to leave a comment!
Sign In