3-step Process for Winter Commercial Roof Maintenance

By APOC.
Build trust with clients by helping them create a maintenance program for commercial roofing systems using these three steps.
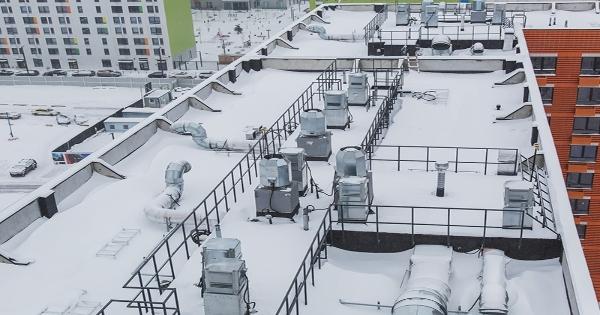
One of the best ways to build and maintain a client’s trust is by helping them out during tough times, such as during this stressful winter season. Since most people want to avoid costly repairs, you can help your customers by implementing a preventative winterization maintenance program for their commercial roofing system. Below are three-steps to creating this program that you can share with your clients:
1 - The first step in a successful winterization is a thorough cleaning.
To keep the roof waterproof, make sure to keep all water ways clean and free of debris. These waterways remove the water from rain and snow melt and if not properly clean allowing unimpeded water flow off the roof it can lead to dangerous roof load conditions and damaging roof leaks. Check for the following:
-
Gutters - Remove plant debris.
-
Downspouts - Ensure they are clean and clear by using a hose to confirm the unobstructed flow of water.
-
Scuppers - Remove plant and windblown debris.
-
Field drains - Remove, clean and replace the screen. Ensure water channels in the clamping rings are clear.
Debris can also collect in the corners of parapet walls and around base flashings. Be sure to check the whole roof surface and remove any debris so that it cannot make its way to the waterways creating a clog.
2 - Once the cleaning is done, it’s time to do a complete inspection looking for deterioration, storm damage, splits and cracks, pulling, tenting or fish mouthing.
Some key areas to check include:
-
Scuppers
-
Drains
-
Curbs
-
Base flashings
-
Penetrations
-
Field seams
-
Coping caps
-
Gutters and Down spouts
3 - Once areas in need of repair are identified, ensure you are using a high-quality roofing material that is compatible with your roofing membrane.
When conducting any repair, use the four P’s method to achieve a long-lasting result:
-
Prep - Get the repair area clean and dry.
-
Prime - Apply the appropriate primer as needed for a good bond.
-
Patch - Make the repair according to manufacturer's requirements.
-
Protect - If repair materials require additional UV protection.
Note: Any effective repair is fully reinforced and UV protected.
Once the snow starts to fly and the temperatures drop, conducting roof repairs can be extremely challenging and difficult. Identify the problem areas before the need for emergency repairs arise.
Learn more about APOC in their RoofersCoffeeShop® directory or by visiting apoc.com.
Original article source: APOC


Comments
Leave a Reply
Have an account? Login to leave a comment!
Sign In